Printed Shelf Brackets
Practical Home Use for a 3d Printer
One of the things I love about 3d printing is the possibility to make my own everyday items. While Emerson might not have considered 3d printers, I think the same spirit of self-reliance is fulfilled each time I print something rather than buy it. It’s not always cheaper or easier, but that feeling of having something uniquely your own is almost always worth it.
Design
Basic Concept
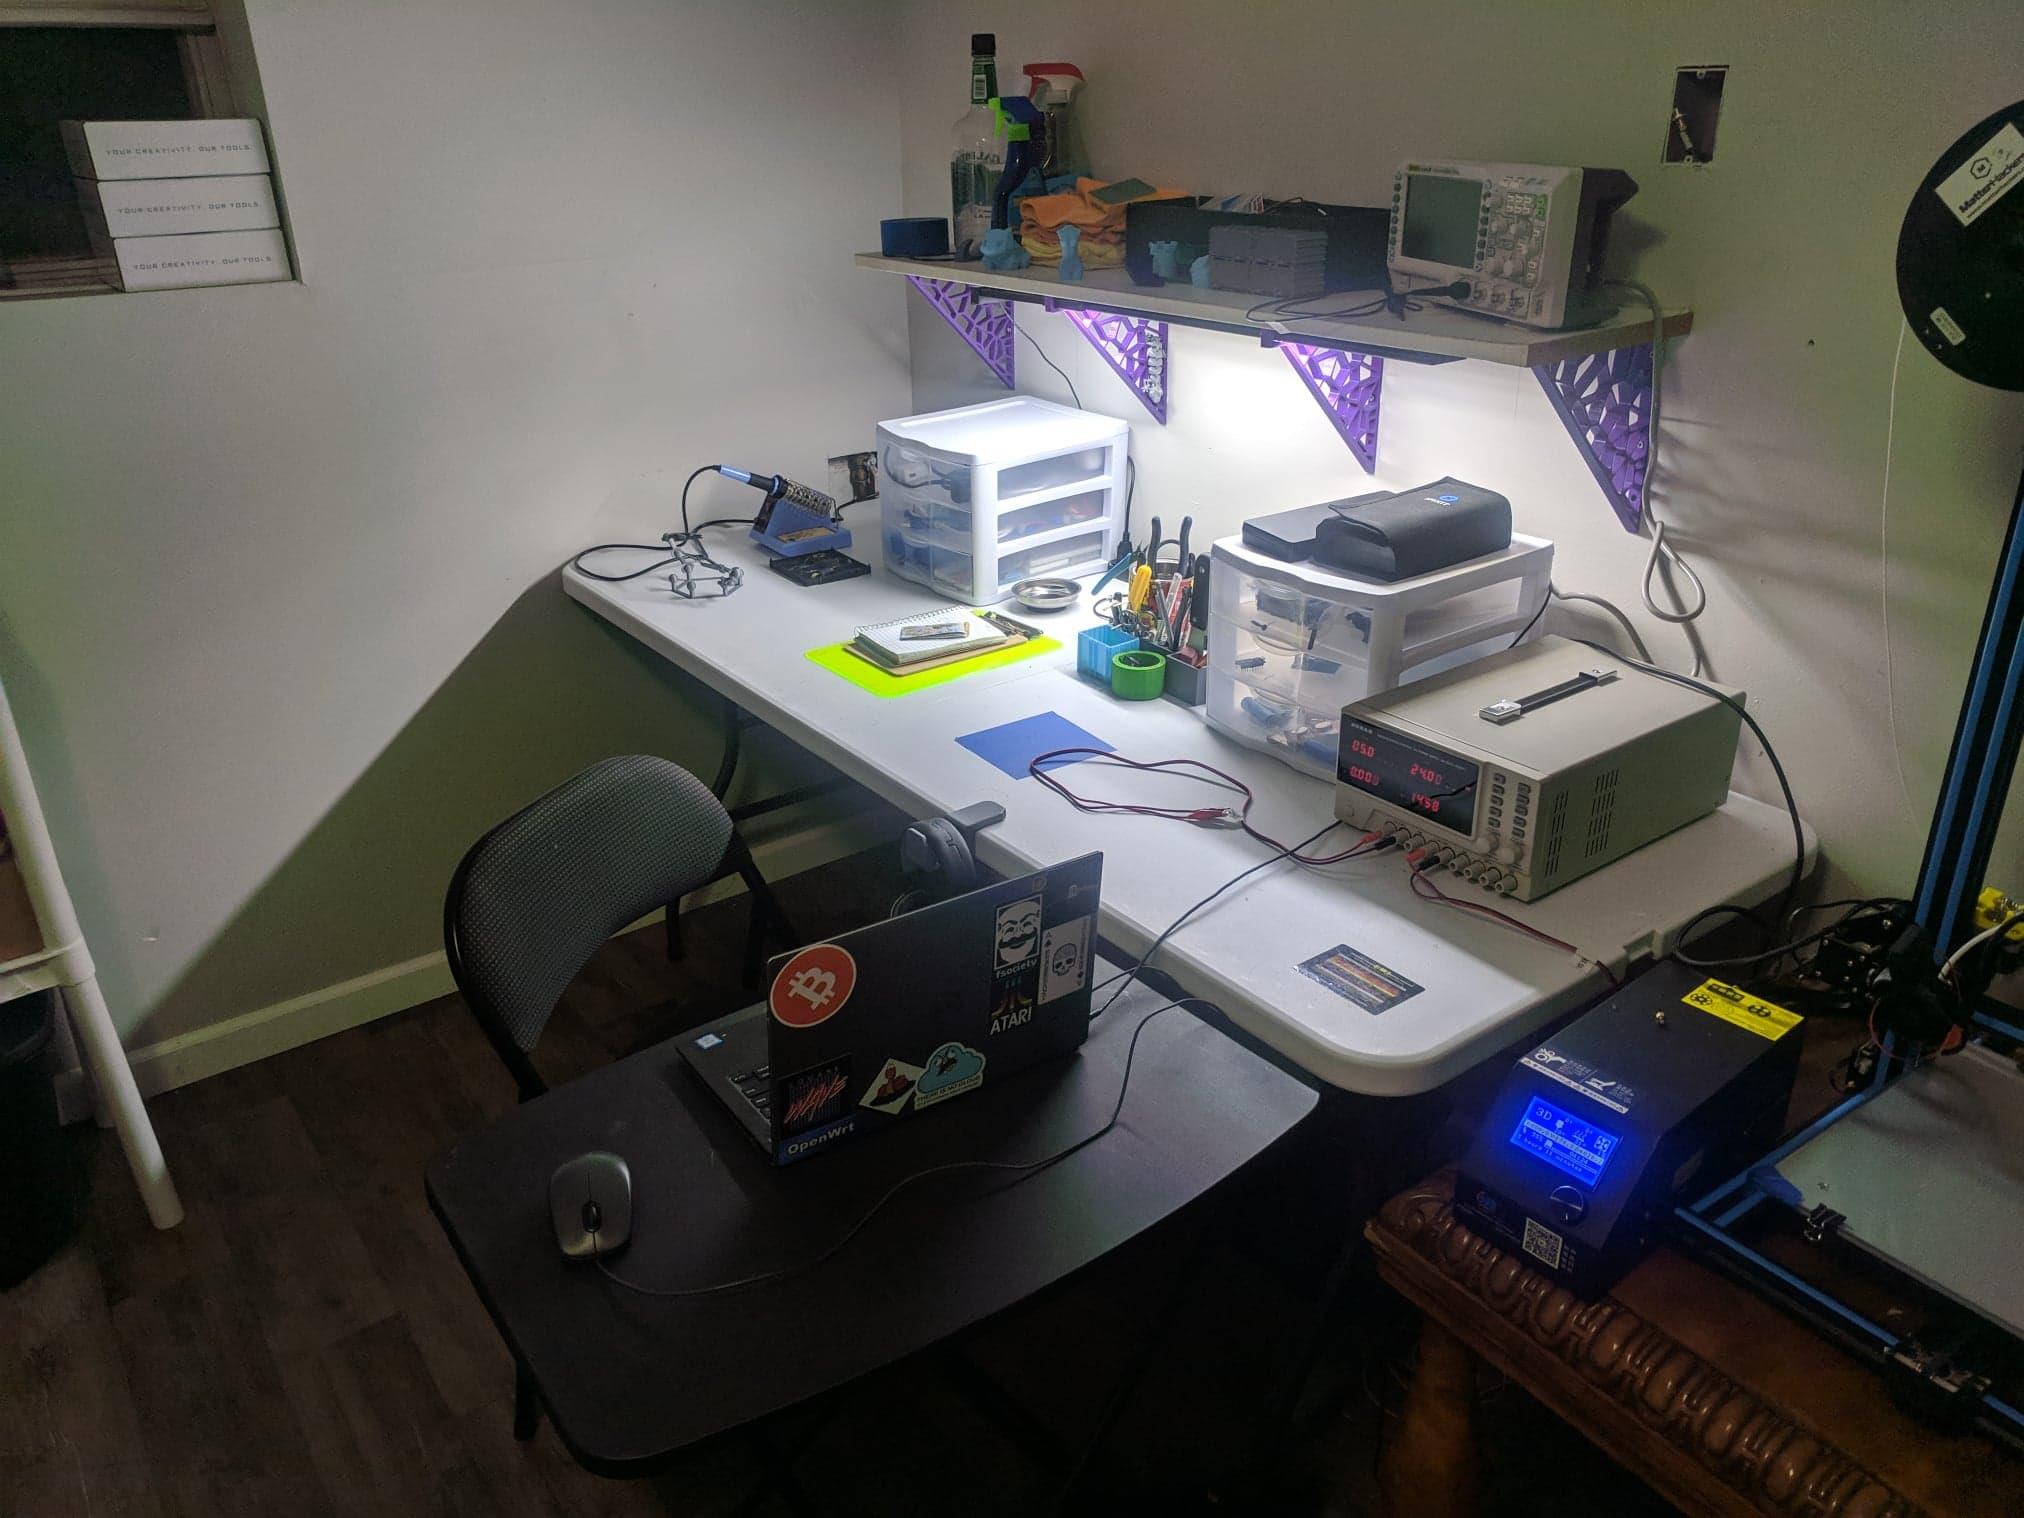
I wanted a simple printable shelf bracket to extend the usable area of my lab work table. I was also suspending a light in a less than elegant way and while I could theoretically mount the light to the wood of the shelf, an integrated solution appealed to me. Because I knew it would be printed I also wanted to incorporate a design I wouldn’t mind looking at.
Early Design
Initially the bracket was a bare bones affair with a slot for the light, dimensions matching the width of the shelf, and a basic triangular shape. I played around with a solid triangle and subtracting variable circles to allow access to the mounting screws and some to shed material. I don’t have any pictures of this stage, but you will have to take my word that it was UGLY.
Back to the drawing board
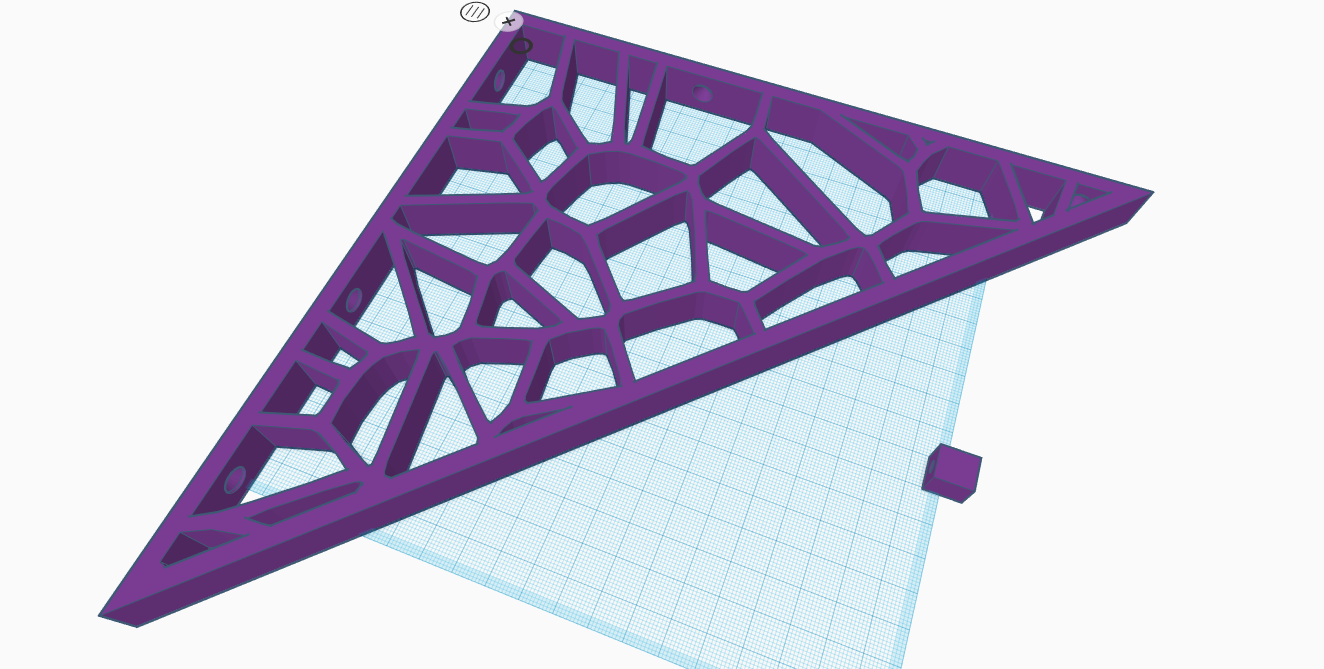
I stripped away all the circles and looked at good ways to reduce the print time and weight without detailed removal from the solid triangle. A common pattern I think anyone familiar with Thingiverse or 3d printing in general knows is a Voronoi diagram. I like the look and it solves the issue of removing excess material quite well.
Practical Engineering
This is the part where I would love to say I dove in and plotted structurally important points, added some other points for noise, and generated a structurally tailored Voronoi diagram. This isn’t that kind of blog, this is about how to get results without all the fuss. Here’s what I actually did:
-
Found a nice looking Voronoi Image
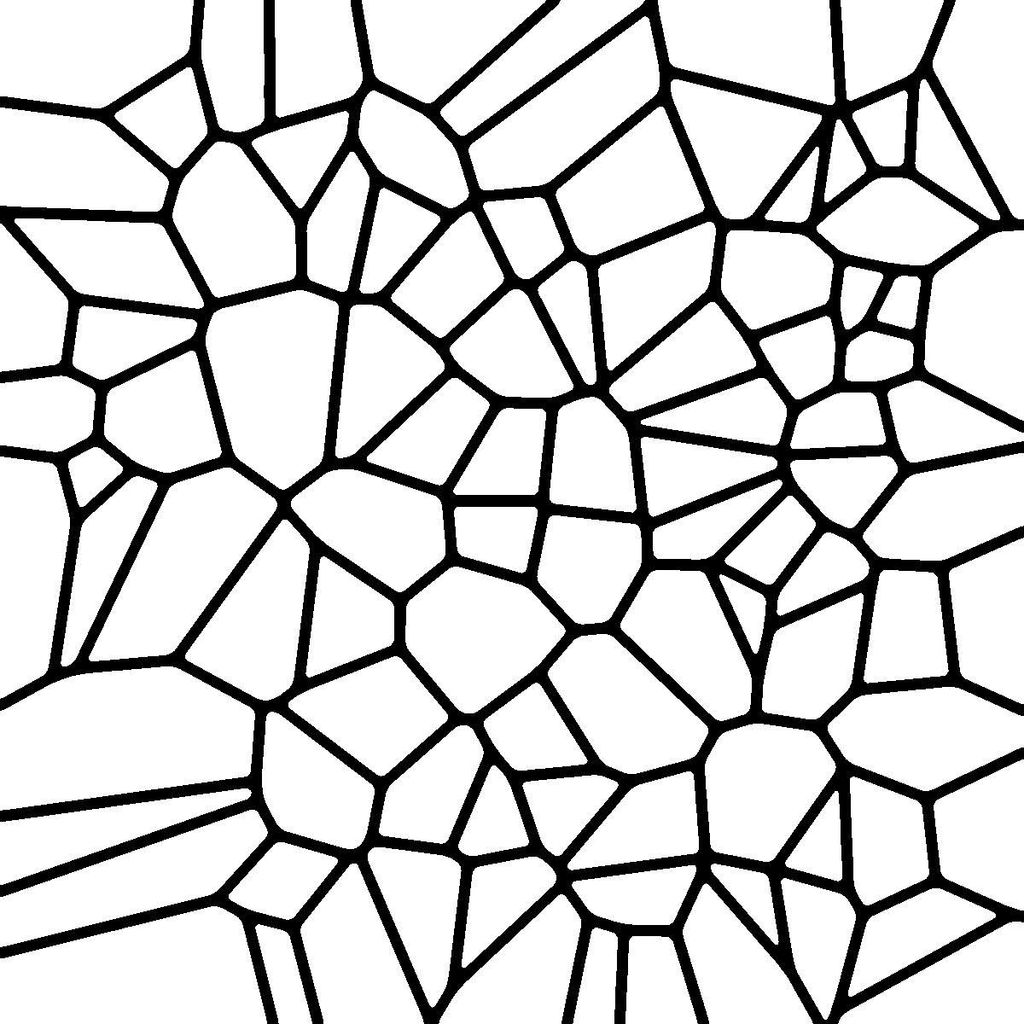
Credit to EyalN3 at Instructables
-
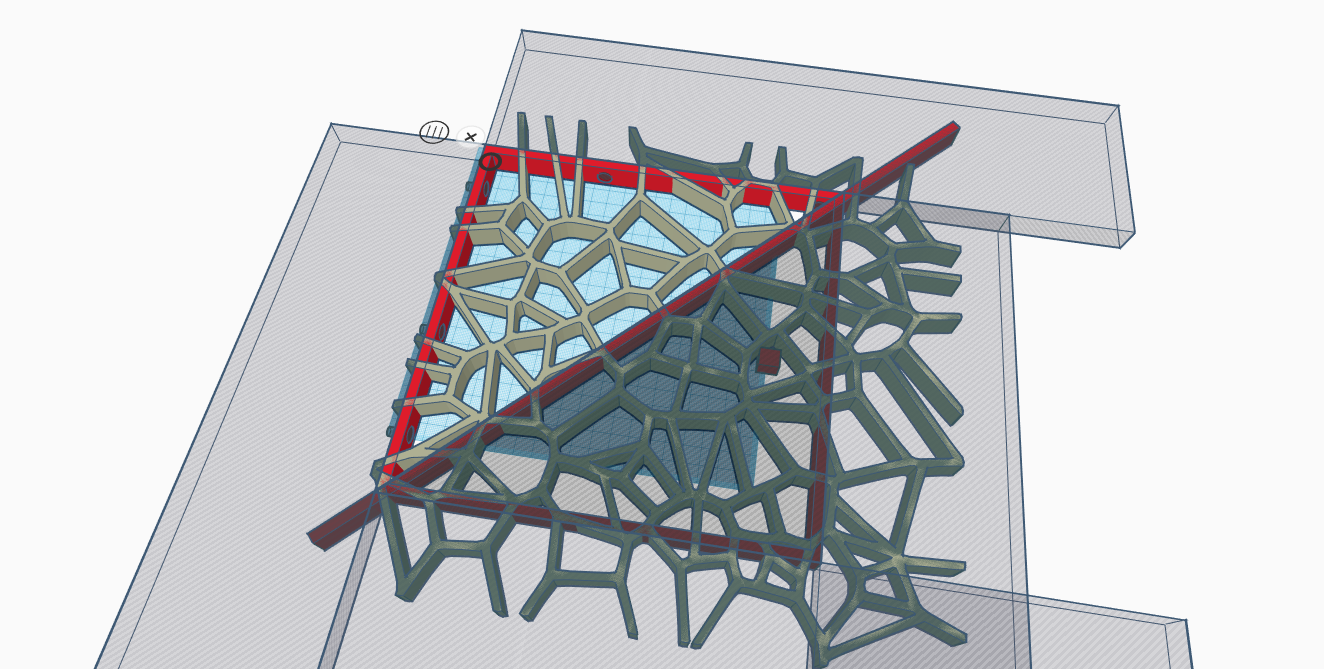
Pulled it into Inkscape and created an SVG

-
Imported it into TinkerCAD
-
Scaled the path to be slightly larger than the footprint of my bracket
-
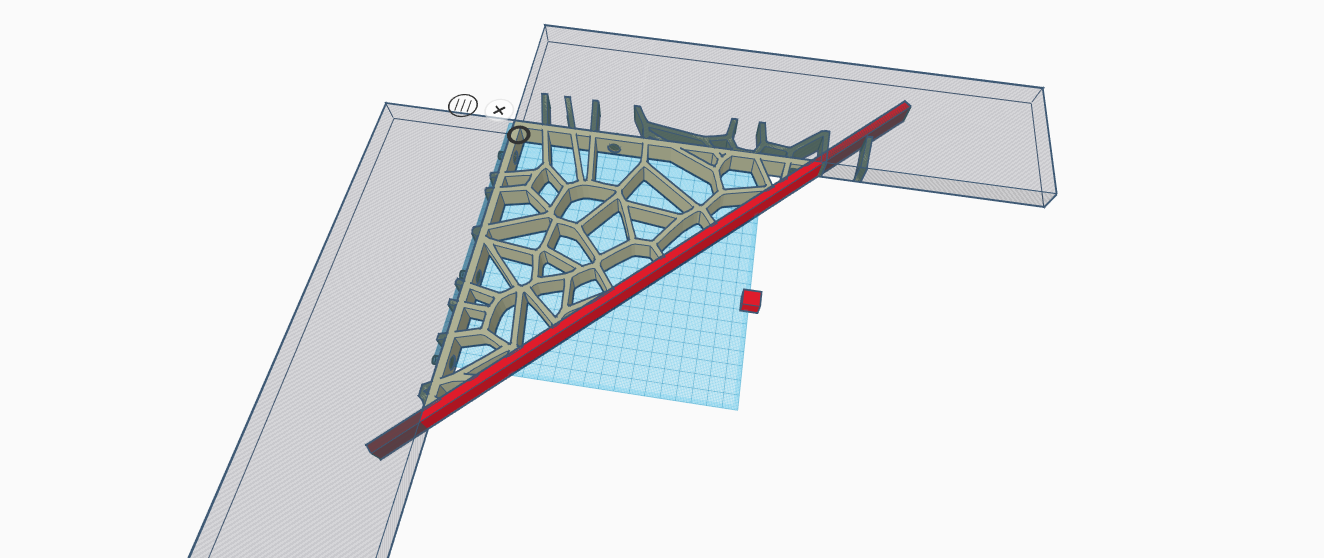
Subtracted away a triangular box for a 45 degree edge
-
Added a flat support to make that edge clean
-
Subtracted away anything past the bounds of the final bracket
The neat part about this process, is that you can use all kinds of designs to suit your tastes. One I may consider in the future is a nature/leaf theme.
Implementation
Drywall anchors
The specifics of the shelf meant I had spacing requirements for housing the light and centering it on my work space. This meant hitting studs for all the brackets wasn’t going to happen. I opted to use some drywall anchors and actually had moderate success printing some! The main gotchas here are making sure you drill a sufficiently large hole to get the auger started and ensuring the anchor center point ends up where you want for a level shelf. You can find the anchors I used here. Make sure to print nearly solid, they are small enough that saved print time isn’t worth the failure on use.
Documenting Failure
It’s easy to document success, and while this shelf still diligently serves its purpose the design has many failures. In this blog post I wanted to document the design process as well as some of the design flaws and possible improvements.
Where it starts to go wrong
I modeled counter sinks for the screws I planned to use, found decently accessible points, and subtracted them from the finished bracket. While more aesthetically pleasing, these counter sinks introduced one of the main flaws in the final design. The angle of the screw heads and recess into the model caused them to act as wedges, driving the layers of the print apart and weakened its structure. This resulted in some crumpling of the top Voronoi cell and ultimately put the shelf 6mm off level once it settled.
While I had considered access to screws, I underestimated how much torque it would take to actually fully tighten the screws and how much space I would actually need to work. I printed a “wrench” that held a standard phillips bit to reach into the small spaces.
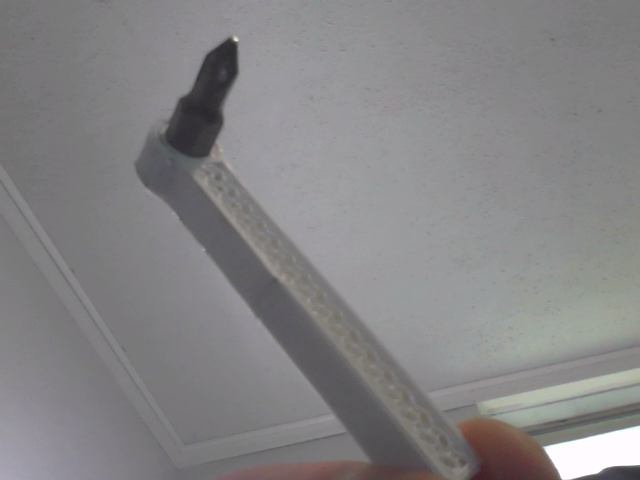
This worked, but it also stripped screws and was an overall nightmare to install.
How do we fix it?
The obvious answer to both is: Use screws with a flat hex bolt head and an actual wrench. While not as pretty as fully countersunk screws, it will prevent damage to the bracket and keep it on level. If I replace these, I might also add a washer to distribute the load over as many print layers as possible.
Closing notes
The shelf still does its job and the brackets are fairly long prints with lots of plastic used. I will live with its imperfections for now and maybe come back in the future with some other upgrades.
Let me know what you think of this article on twitter @BohemianHacks!
If you really liked it please consider buying me a coffee
or sending bitcoin: 1JLRwwfTiqnDVz85WkeAg4fm8A6pphNcFk